What is a deployment pipeline?
Well what’s a pipeline, really? Pipelines are an automation mechanism for getting produced resources to their intended users. You build a pipeline when you want to focus your effort on the producing of instead of how the user gets it.

Web development has matured greatly since the dotcom bubble popped. Back in the day you bought big metal servers, got a pricey business internet connection and hired a team of engineers to get and keep your site running. Luckily, the huge progress made in the cloud era has reduced this effort tremendously.
In this post I’ll share the web development that published the web page you’re looking at right now using an automated CICD pipeline.
Ingredients
- Your custom domain - optional, but recommended.
- Hugo - a really slick static site generator.
- GitHub Actions - the CI magic.
- Cloudflare Pages - the CD magic.
Step 1: Design your web page
For this I recommend going through the Hugo Quickstart and committing it to a GitHub repository. You need to be able to access your site locally by running hugo in the root directory of your repo:
hugo server -D
...
Web Server is available at http://localhost:1313/
...
Once you’re happy with it, commit your changes and push to GitHub.
Step 2: Set up continuous integration
GitHub Actions truly makes this so simple. We’ll use the great work of peaceiris to setup our automated build.
Create a yaml build config file in .github/workflows e.g.:
mkdir -p .github/workflows
touch .github/workflows/main.yaml
Then, paste this content into that file.
name: GitHub Pages

on:
  push:
    branches:
      - main  # Set a branch to deploy
  pull_request:

jobs:
  deploy:
    runs-on: ubuntu-20.04
    concurrency:
      group: ${{ github.workflow }}-${{ github.ref }}
    steps:
      - uses: actions/checkout@v2
        with:
          submodules: true  # Fetch Hugo themes (true OR recursive)
          fetch-depth: 0

      - name: Setup Hugo
        uses: peaceiris/actions-hugo@v2
        with:
          hugo-version: 'latest'
          extended: true

      - name: Build
        run: hugo --minify

      - name: Deploy
        uses: peaceiris/actions-gh-pages@v3
        if: ${{ github.ref == 'refs/heads/main' }}
        with:
          github_token: ${{ secrets.TOKEN }}
          publish_dir: ./public
You’ll need to setup a Personal Access Token (PAT) with repo access for the deployment phase to complete to complete. The token will only be shown once and will resemble:
ghp_someRandomCharacters...
Copy that token and store it safely; treat it like a password because it is.
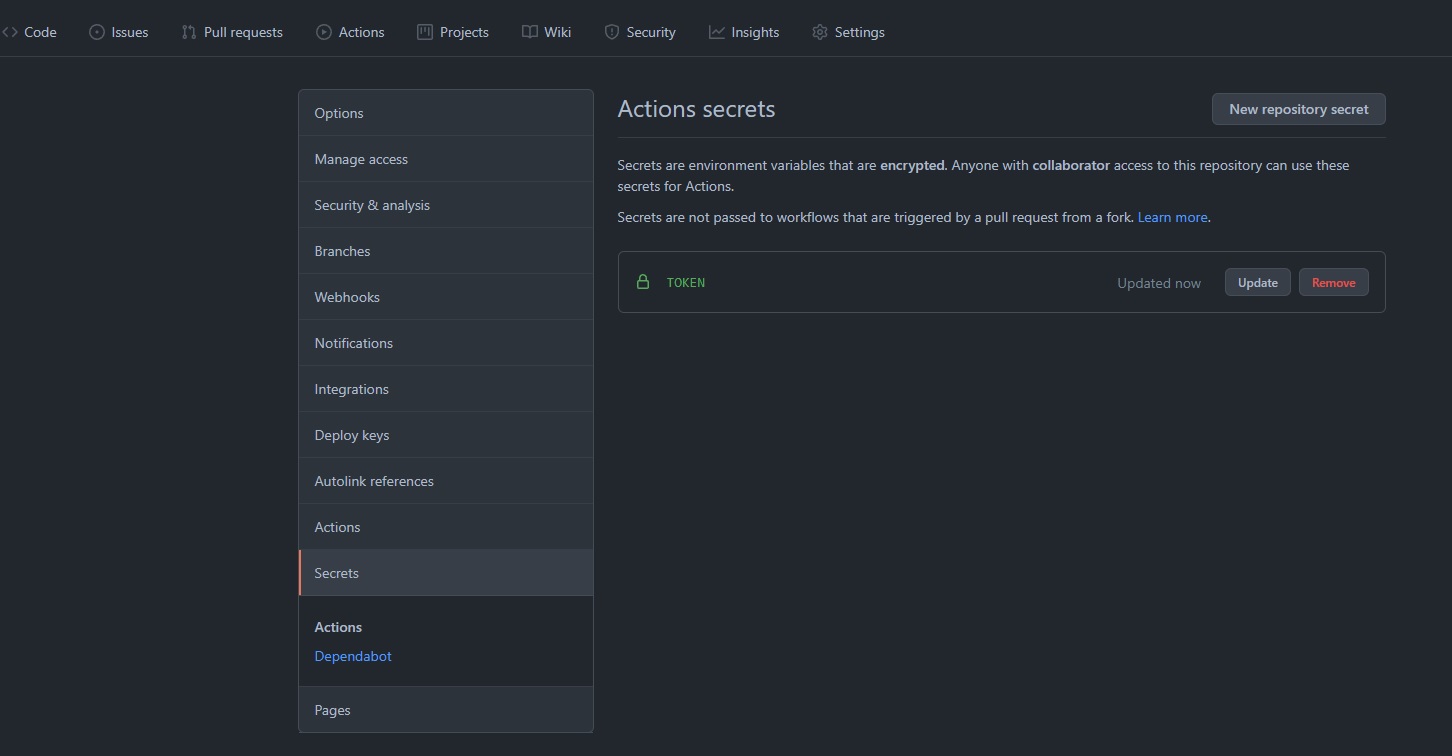
Then go to your repository’s settings page and add a secret called TOKEN:
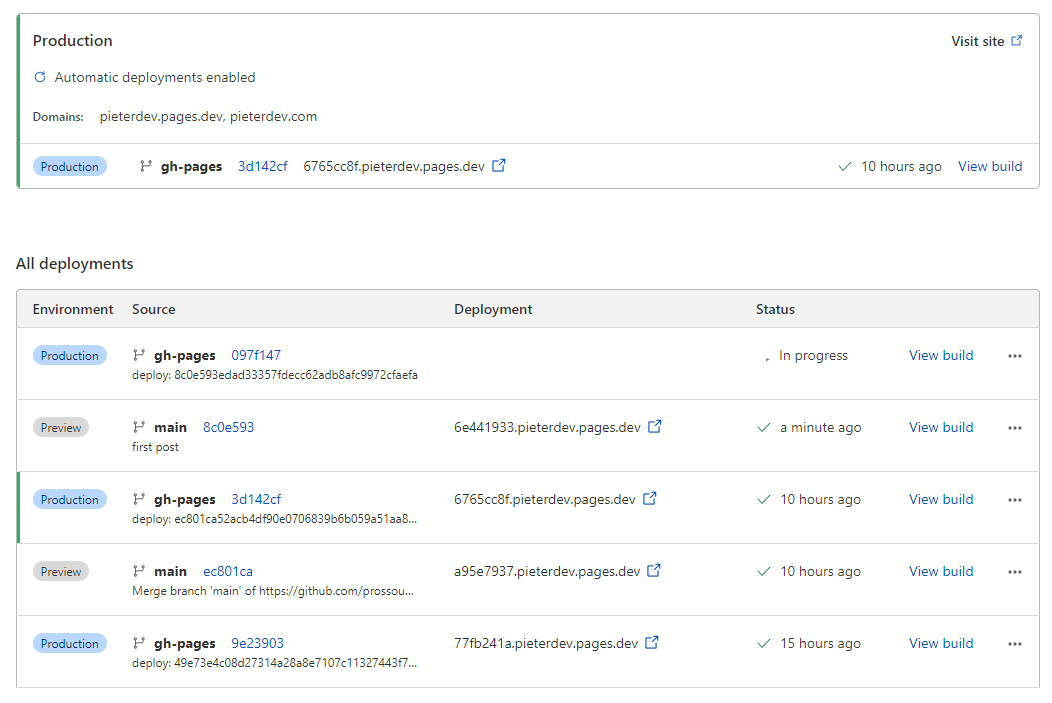
If configured correctly, every commit on the main branch should trigger a hugo build, which will be committed to a gh-pages branch:

Step 3: Set up continuous deployment
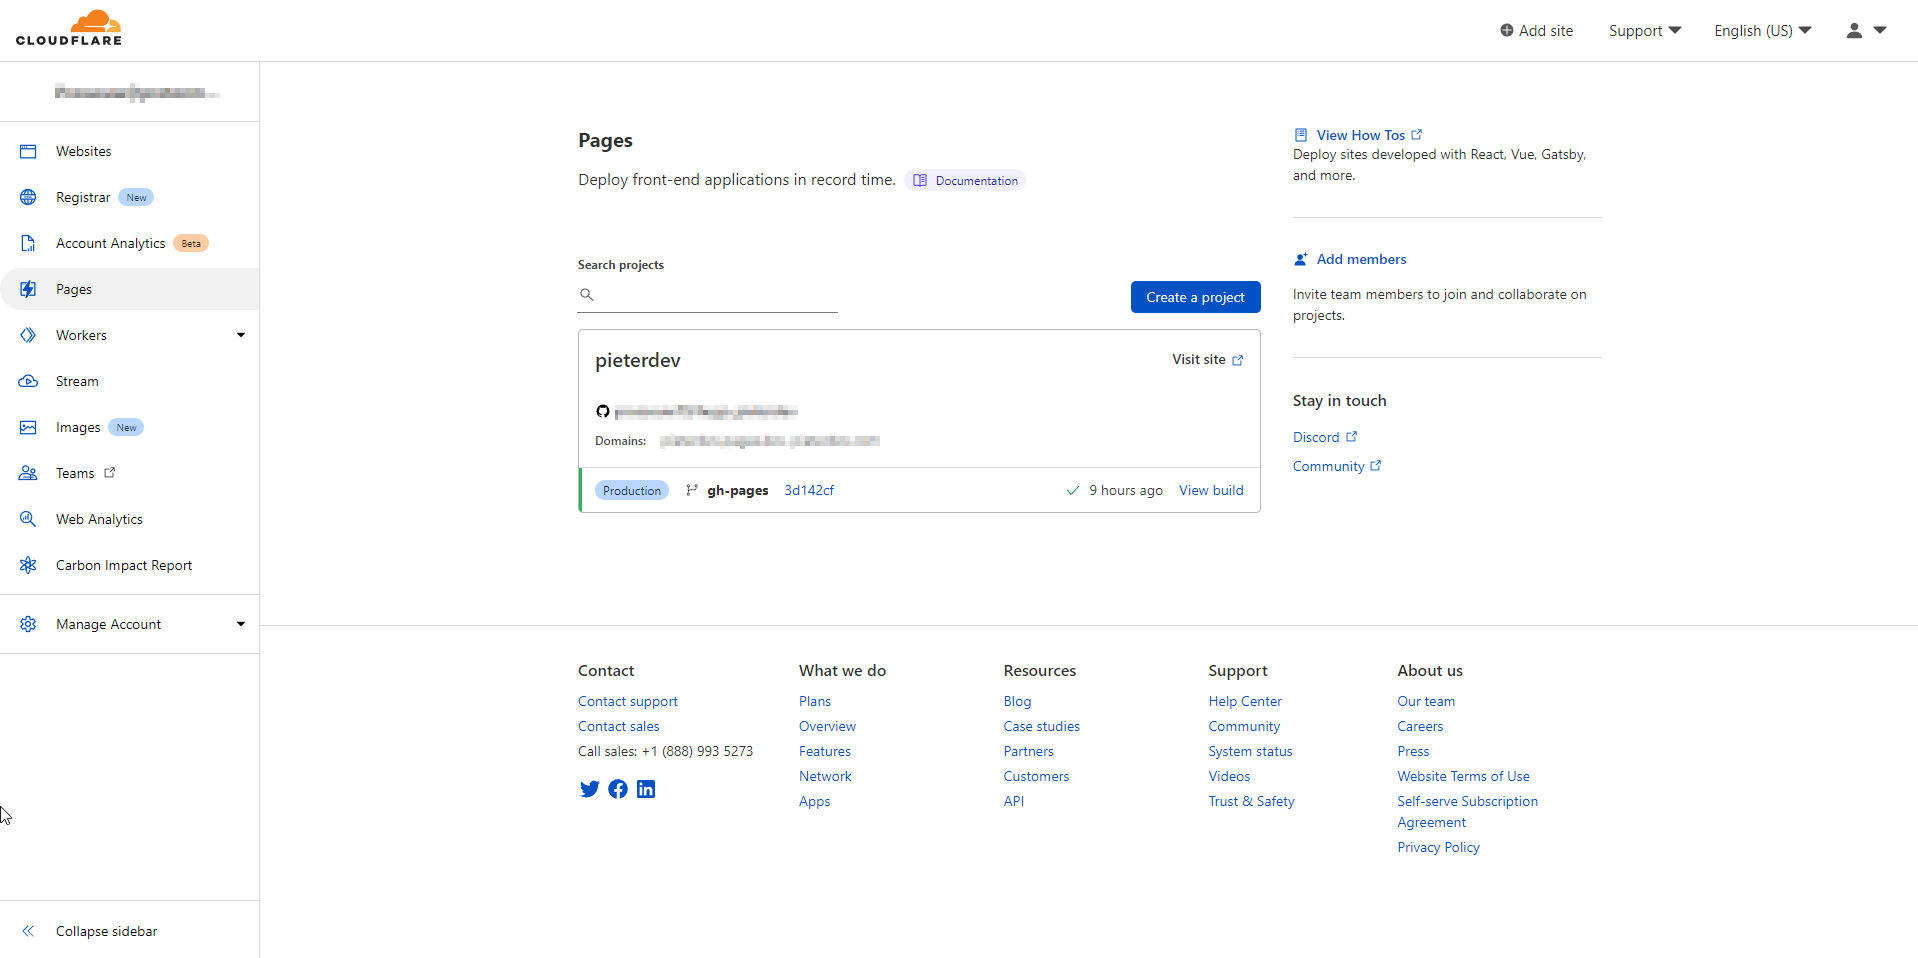
Now that updates to the website get built automatically, I’d like the web host to deploy any changes automatically as well. My static web host of choice is Cloudflare Pages. Simply create an account and navigate to pages:
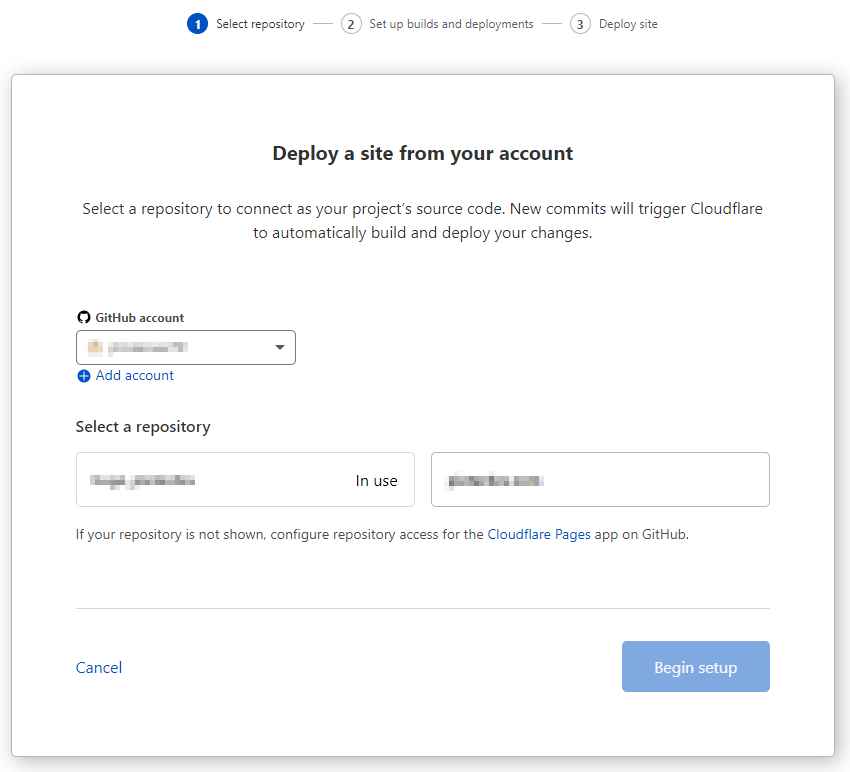
Click on Create a Project, and link your GitHub account to Cloudflare. Be sure to give it access to your repository. Once authorized, your repo should be listed on the Cloudflare page:
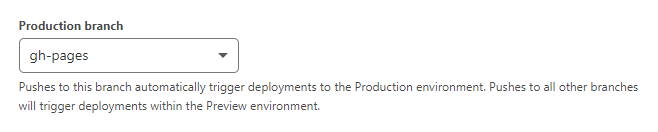
Select the repo you want to use. On the next page, enter a project name which will determine the Cloudflare URL where your site gets hosted. This will not be your domain, we’ll set that up later. Configure the Production branch to be the gh-pages branch that the web page was built to by GitHub Actions:
While Cloudflare Pages can build your site from source and Hugo is a supported framework. You can certainly experiment by letting Cloudflare Pages build your Hugo site and eliminate GitHub Actions if you want. I’m using GitHub Actions because the version of Hugo that Cloudflare provides is too old for what my theme requires - so the build fails on Cloudflare and succeeds using this method.
Since your web page is already built, select None in the Framework preset dropdown and leave all other options default. Click Save and Deploy to finish the setup - your page should start deploying.
Step 4: Use your own domain
While having your site deployed online with SSL enabled is great, you probably don’t want to share a link like yourprojectname.pages.dev - you’d rather just share yourprojectname.com. To accomplish this, you can either:
- Give Cloudflare control over your domain by changing it’s nameservers to point to Cloudflare.
- Create a CNAME record with your current DNS provider to point yourprojectname.com to yourprojectname.pages.dev
Cloudflare provides a lot of features beyond just hosting your pages. I’d recommend the first option so you can benefit from their CDN, caching, page rules etc.
This section can be tricky to set up correctly and since it depends where you bought your domain and how you administrate it, I cannot simply write a how-to guide for this part.
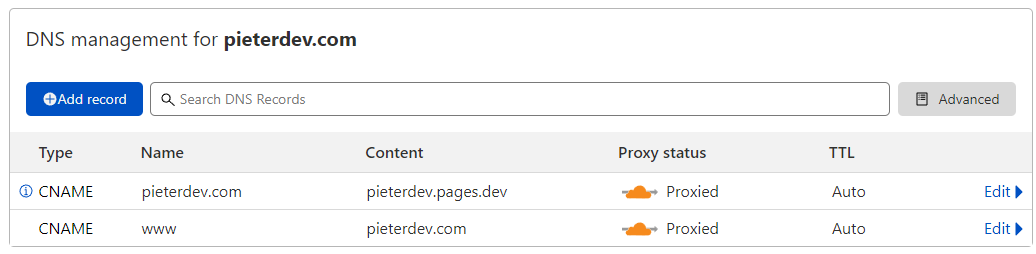
I bought my domain through AWS Route53, and I changed 4 nameserver Amazon addresses to 2 Cloudflare addresses. Within a few minutes I got an email to notify me of this change. Once imported, you can set up your DNS records in the Cloudflare dashboard similar to mine:
Once these records propagate through the DNS system, you should be able to reach your website using your custom domain. More importantly, changes you make to your page design will be live within a few short minutes of you pushing them to GitHub: